Check out our introductory video tutorial or view the written guide below.

Setting up your Unity Project with the Depthkit VFX Graph Package
The Depthkit Core VFX package can be used with Built-in RP or your preferred Scriptable Render Pipeline. The following guide uses Built-in RP.
-
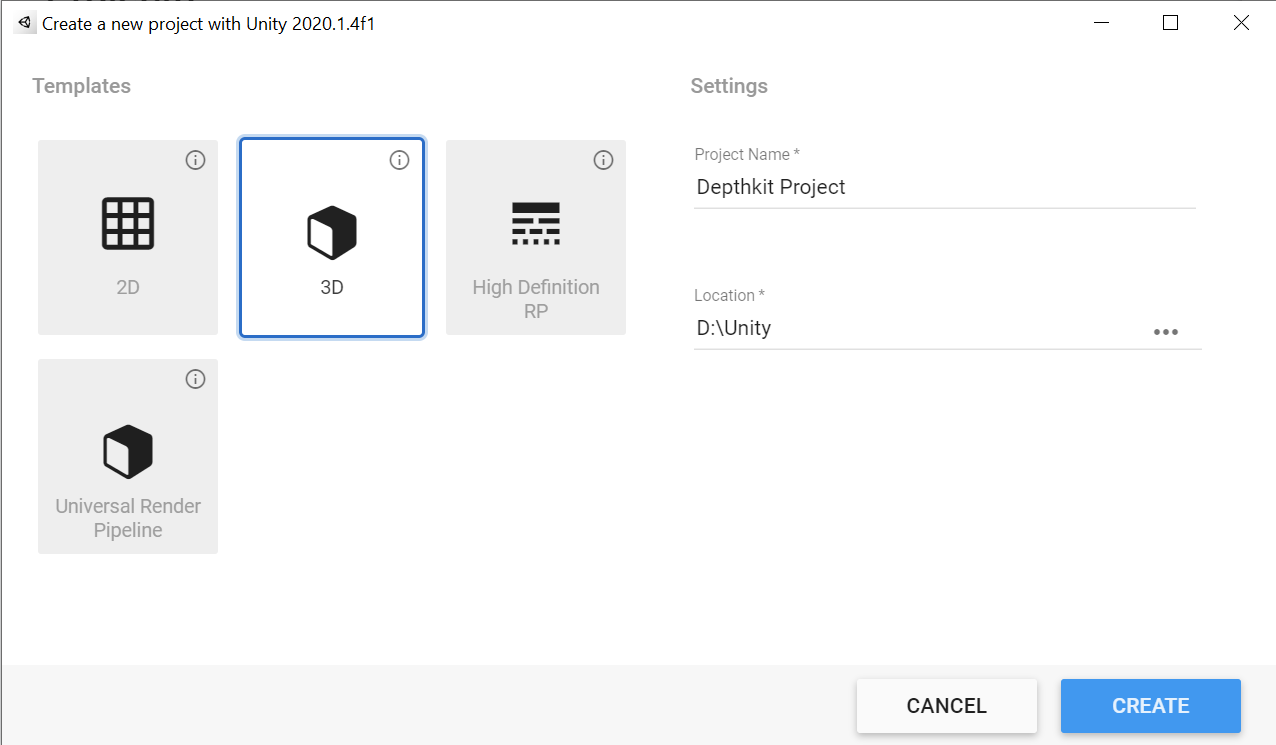
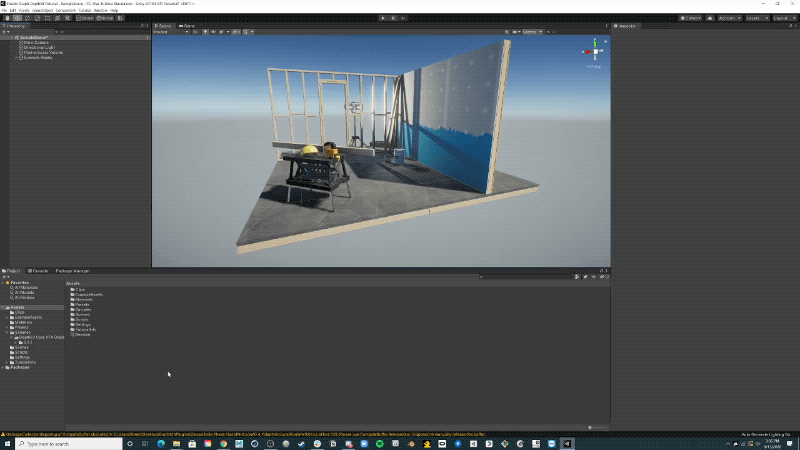
Create a new project via the Unity Hub, using the 3D template.
-
In the Package Manager window, click the add icon and select Add package from disk.
-
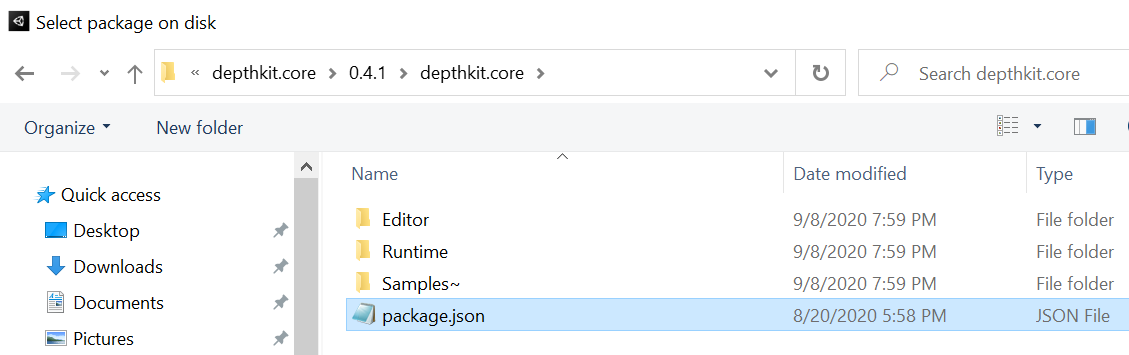
Locate the depthkit.core package folder. Within this folder, select the package.json file and click open.
-
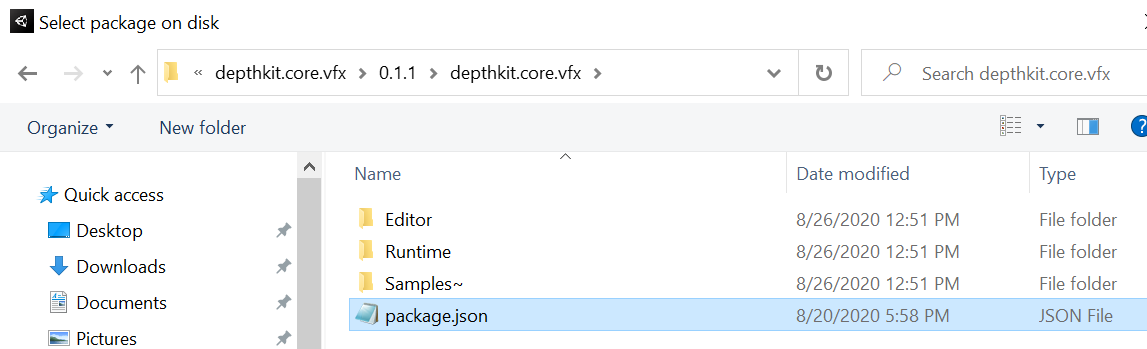
Next, repeat this step for the depthkit.core.vfx package. Within this folder, select the package.json file and click open.
-
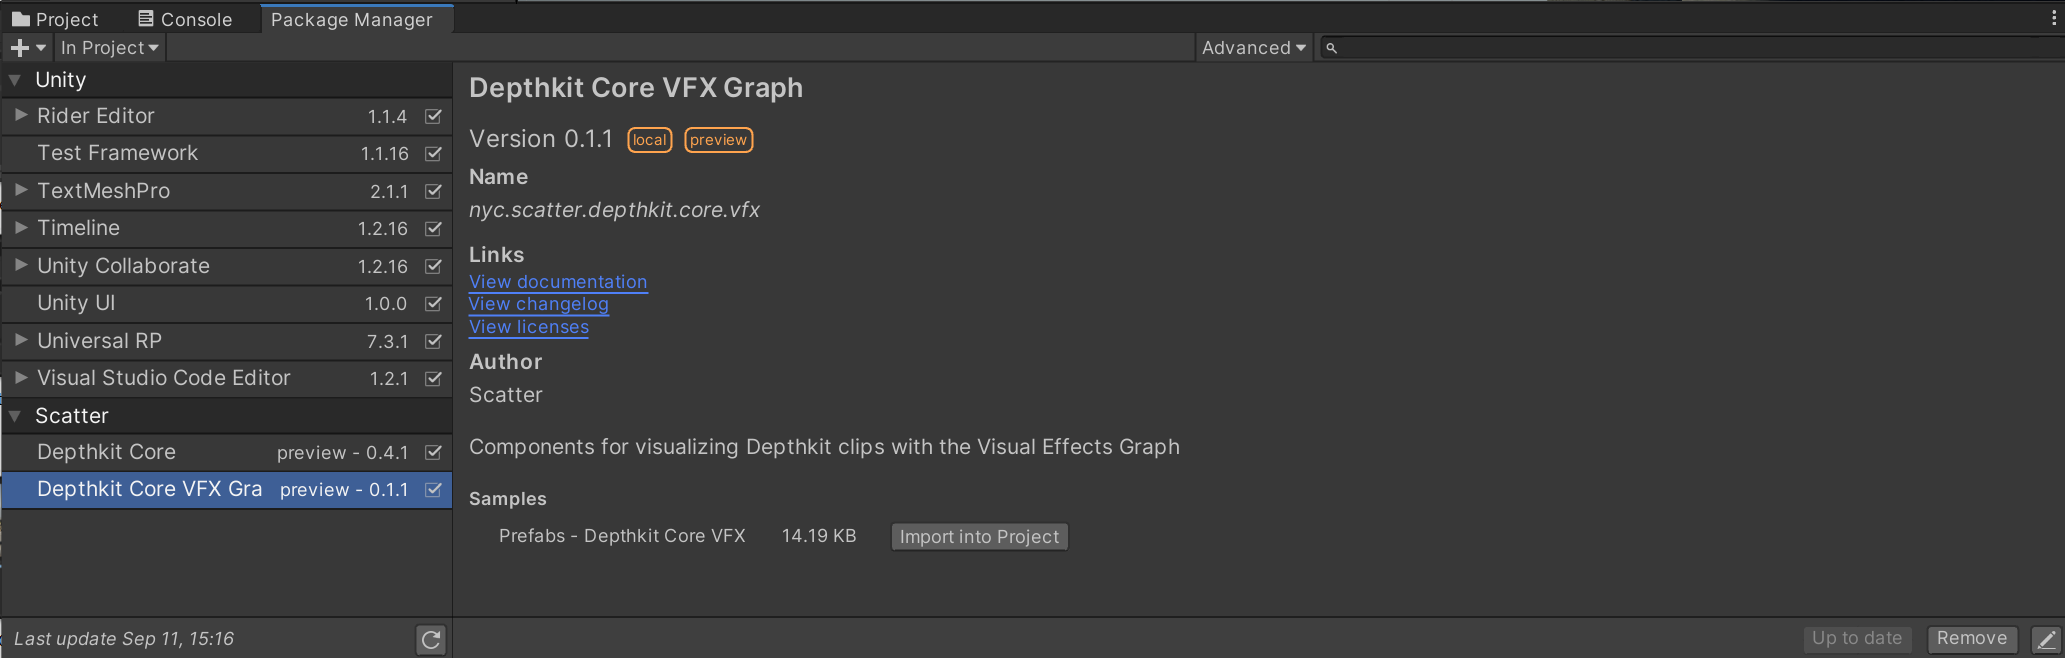
Once imported, you will see the addition of Depthkit Core VFX Graph within the Package Manager. Select this item and expand the Samples toggle. Import the Depthkit Core VFX Prefab. This will import a Depthkit clip prefab with an example VFX Look to get you up and running with the VFX Graph immediately.
-
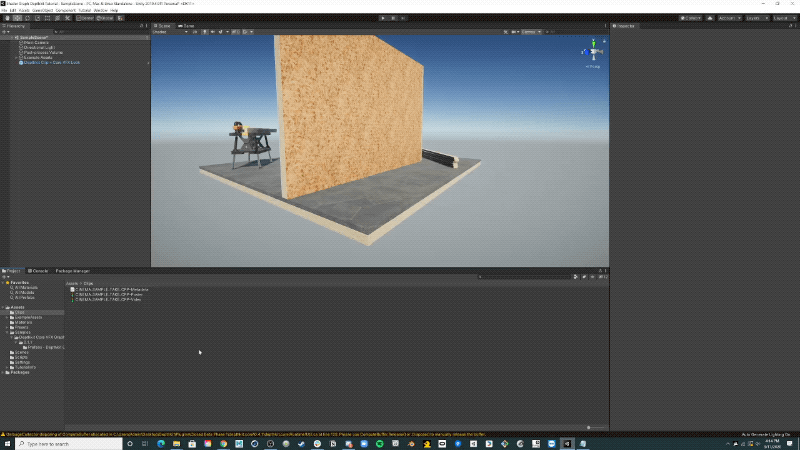
In the Project window, go to your Assets folder and locate the prefab you just imported under Samples → Depthkit Core VFX Graph → 0.1.1 → Prefabs - Depthkit Core VFX. Select the Depthkit Clip + Core VFX Look and drag it into the Hierarchy to populate your scene.
-
Back in the Project window, create a new folder under Assets. You can do this by right clicking in the Project window and selecting Create → Folder. I like to name this folder Clips. This will hold your Depthkit video files, metadata text files, and optional poster images. Drag your Depthkit assets into this folder in the Project window or copy and paste in the explorer window.
-
Back in the Hierarchy, select your recently created Depthkit clip. See the Inspector. You will notice that the Depthkit Clip component is alerting you that your Depthkit Clip is not set up. No worries! All we need to do is drag the Depthkit metadata file and poster image to the corresponding fields in the Depthkit Clip component. In the Video player component, drag the Depthkit video to the Video Clip field.
-
Once your Depthkit clip is set up, you will see that the clip is already configured with a Depthkit VFX Example Look in the Visual Effect component. In order to create and apply a custom VFX Look, you will need to create a new Depthkit VFX Look. You can do this by right clicking in the Project tab, select Create → Visual Effects → Depthkit VFX Look. This will generate MyVFXLook, a new Look that is already set up to work with the Depthkit clip.
-
Double click this new Look to launch the VFX Graph workspace. This node graph provides complete creative control to design a custom visual effect Look for Depthkit.
-
To get started with this Look immediately, select your Depthkit clip in the Hierarchy, go to the inspector, and in the Visual Effect component, update the Asset Template in order to replace the Depthkit VFX Example Look with your new Look.


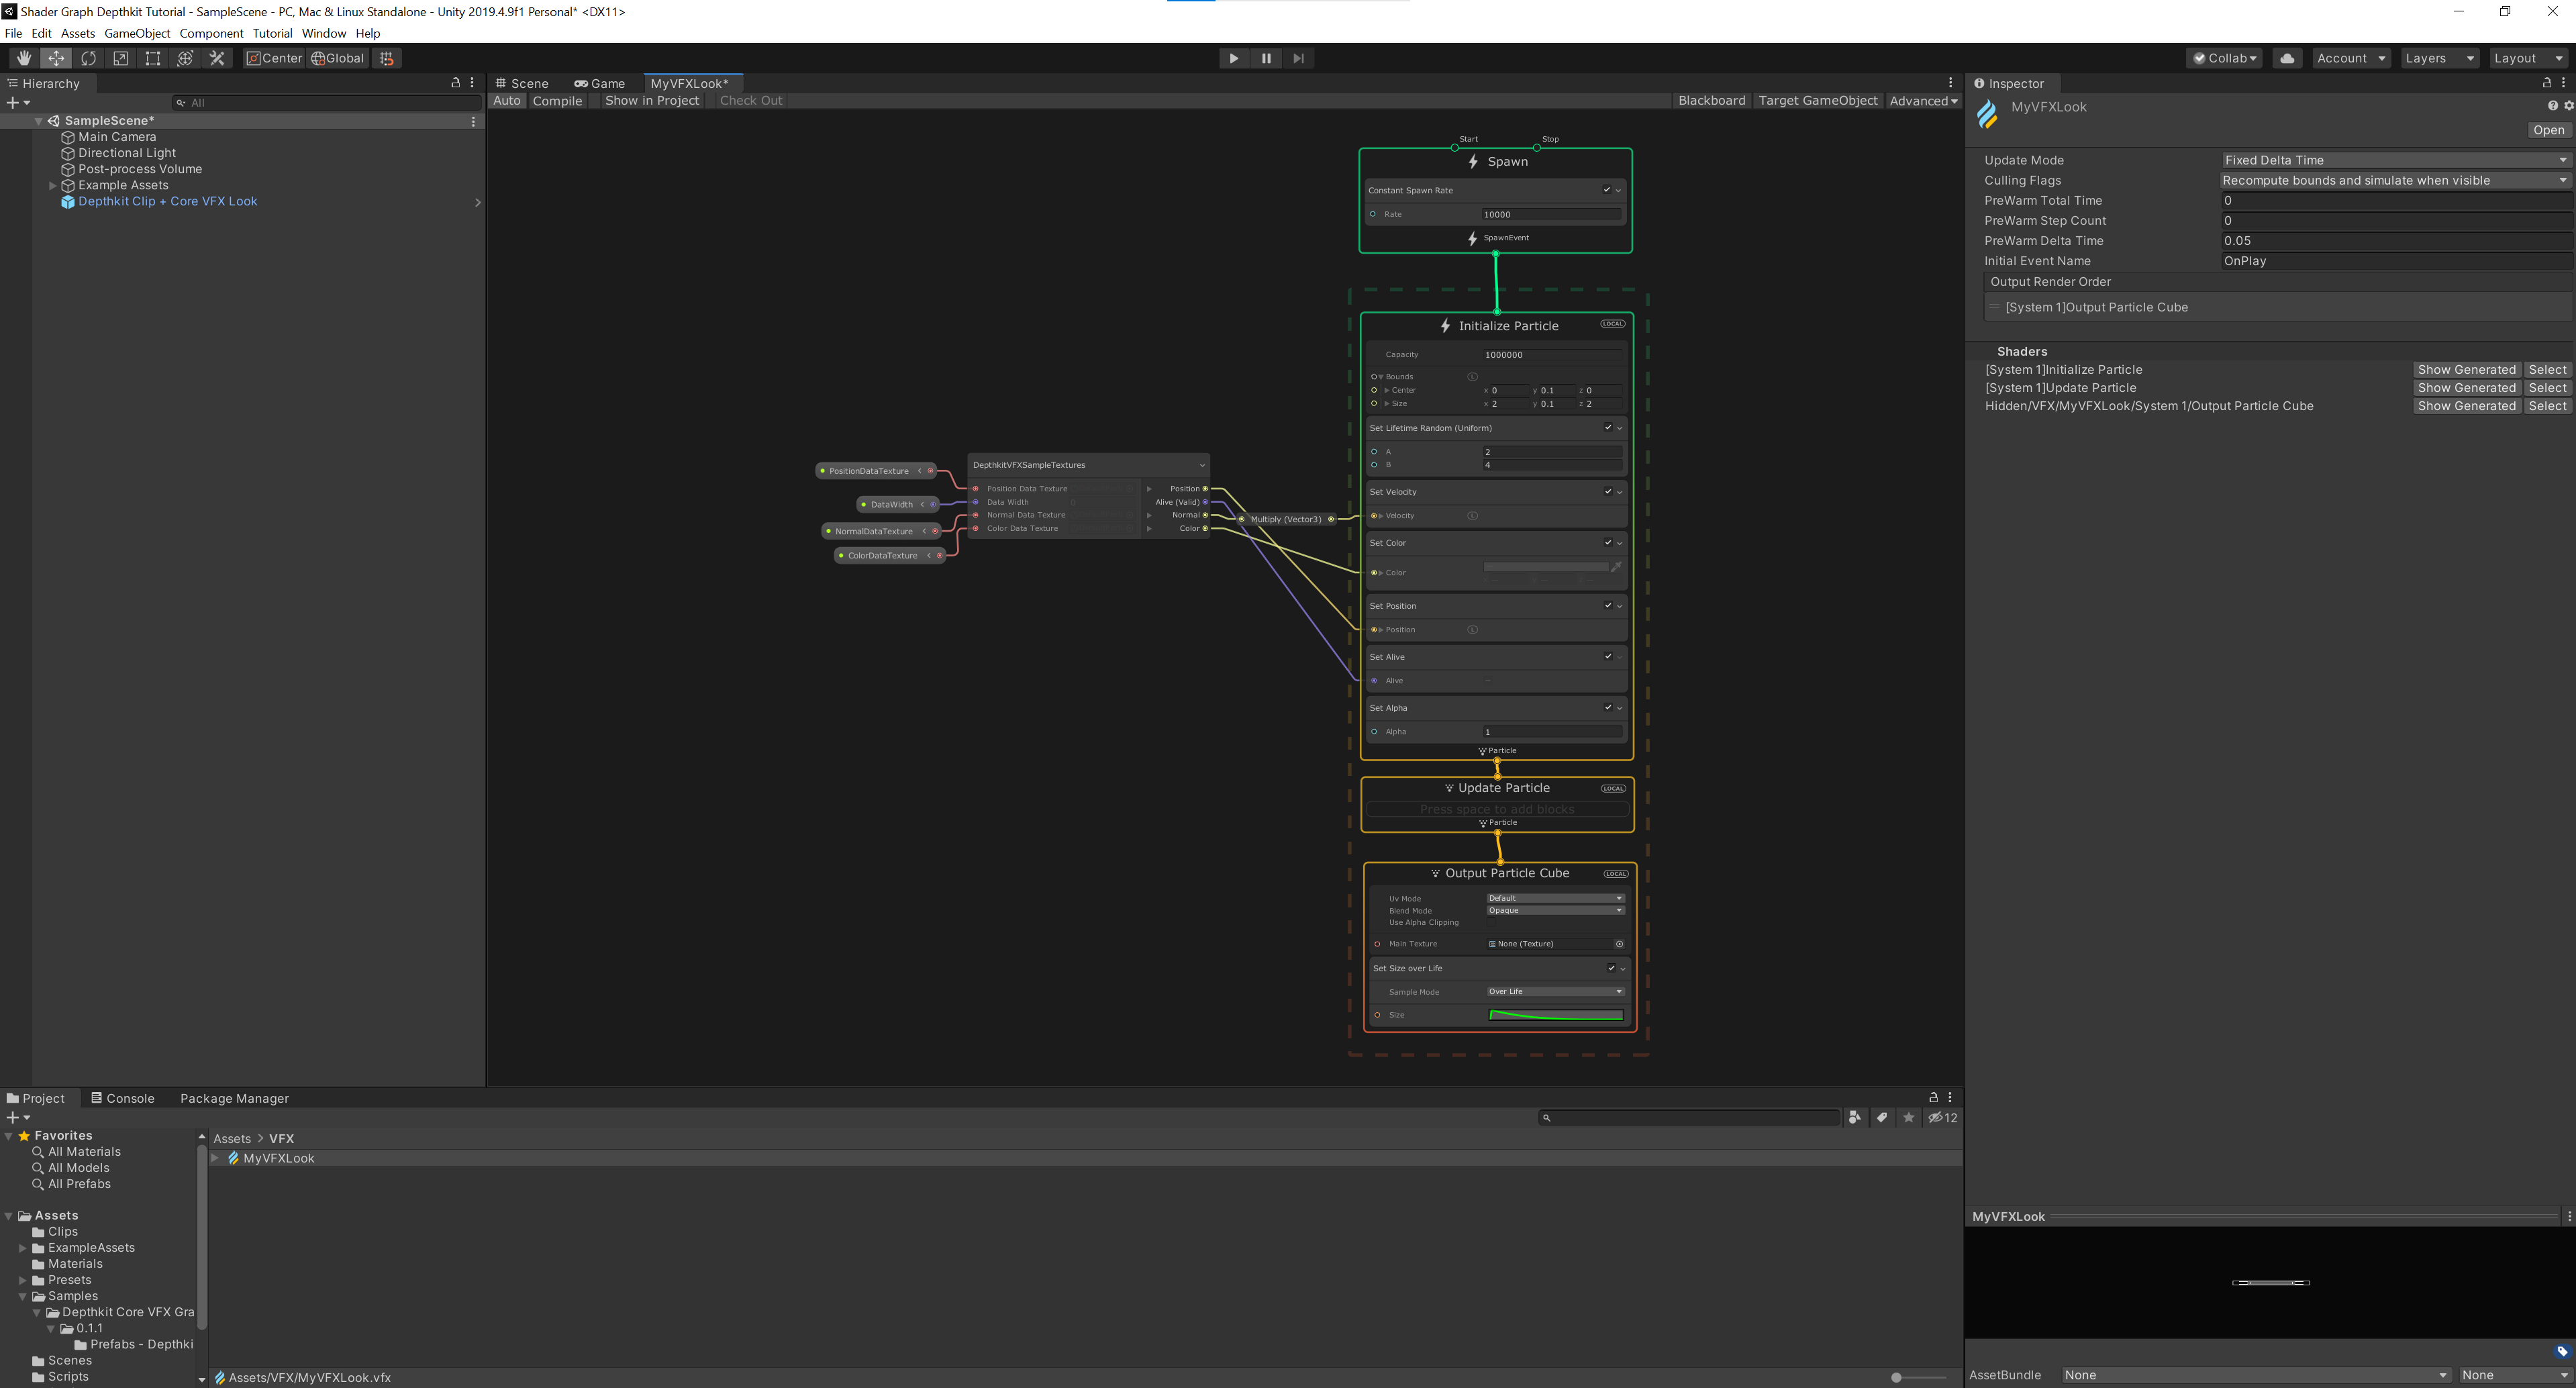
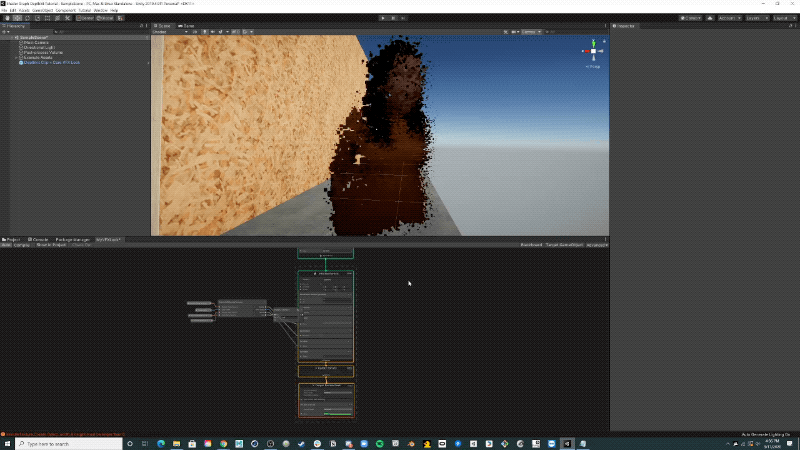
Now you can continue to tweak your custom Look in the VFX Graph and see these changes applied to your Depthkit clip. To see these updates immediately, ensure you have Auto selected in the upper left corner of the VFX Graph window.