This guide includes how to import and work with the Depthkit Core Expansion packages for Unity. It also includes how to create Depthkit clips in your scene.
The Depthkit Core Expansion Package is made up of three packages.
- Depthkit.core v0.4.1
- Depthkit.core.shadergraph v0.1.1
- Depthkit.core.vfx v0.1.1
The Depthkit Core package provides a direct integration with Unity, with a focus on optimized performance and quality. This package is required and must be imported into your project prior to importing the Shader Graph of VFX Graph packages. Depthkit Core supports the Built-in Render Pipeline.
The Depthkit Core Shader Graph package provides compatibility with Unity’s Scriptable Render Pipelines, including URP and HDRP. This package unlocks Depthkit’s support for the Shader Graph. Import this package via the Package Manager after importing the Depthkit Core package.
The Depthkit Core VFX package unlocks Depthkit’s support for the Visual Effect Graph. This package is compatible with Unity’s Scriptable Render Pipelines, including URP and HDRP. Import this package via the Package Manager after importing the Depthkit Core package.
How to Import Packages via the Project Manager
-
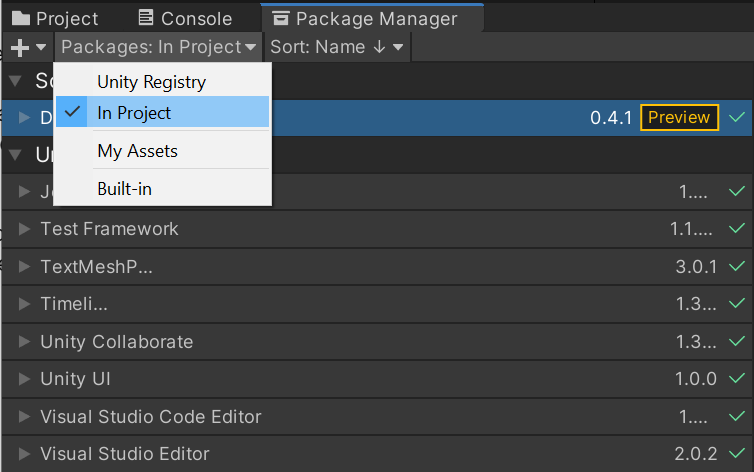
Go to the Package Manager and select In Project in the packages dropdown menu.
-
Use the add icon and select Add package from disk.
-
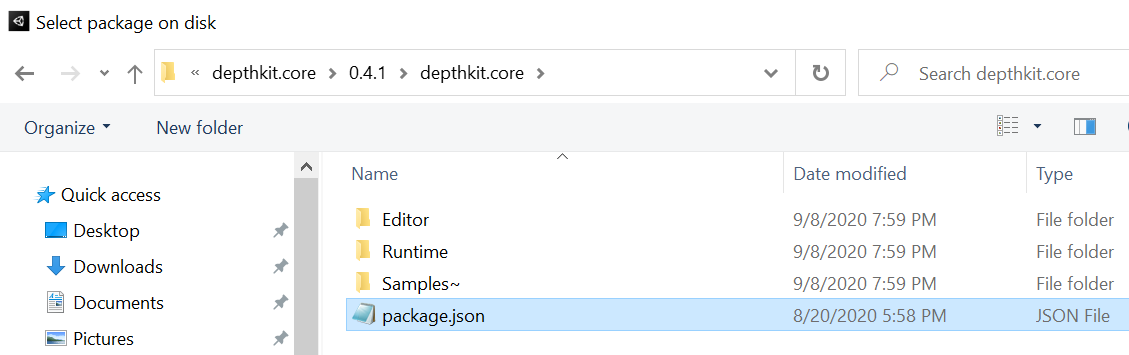
Locate the depthkit.core package folder. Within this folder, select the package.json file and click open.
-
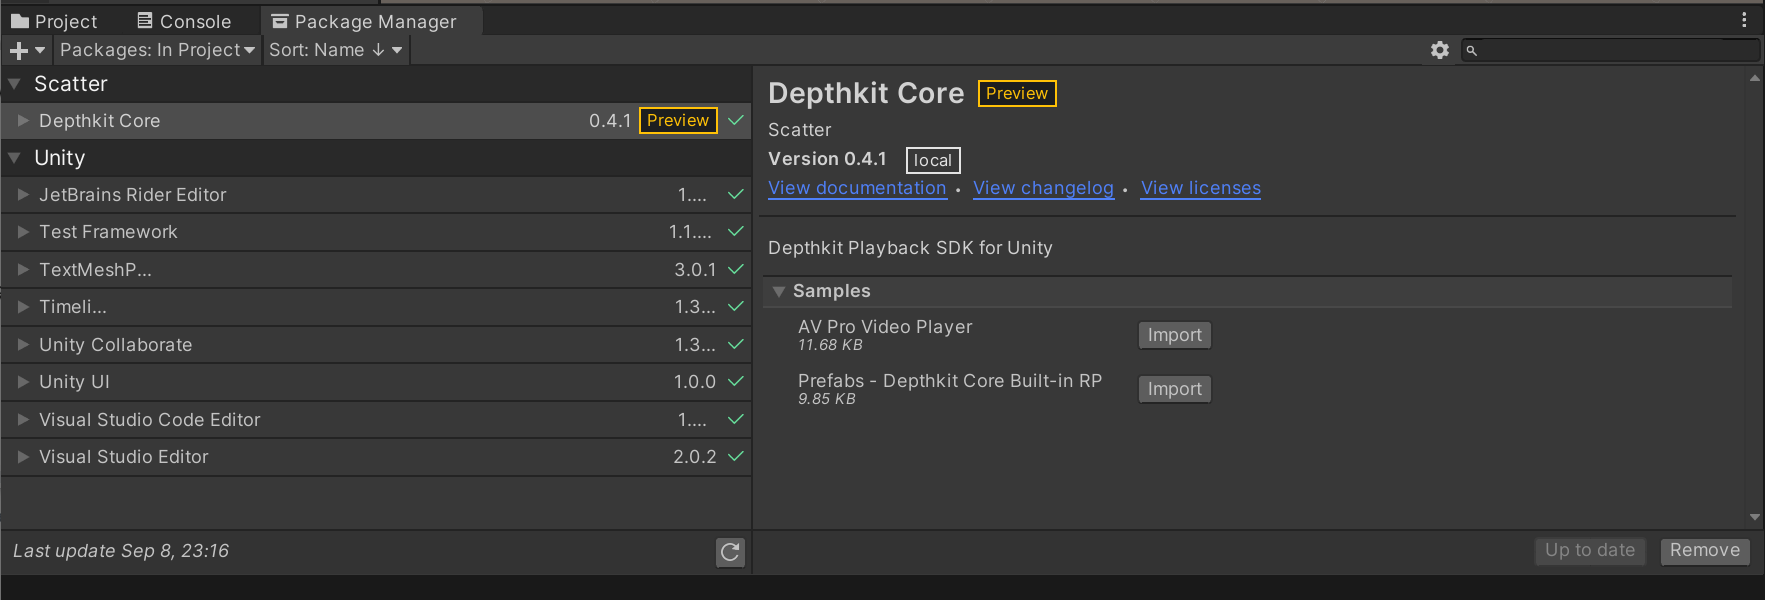
Once imported, you will see the addition of Depthkit Core in the Package Manager. Select this item and expand the Samples toggle. You will see two import options: AV Pro Video Player and the Depthkit Core Built-in RP prefab. Import the Depthkit Core prefab to create a Depthkit clip in your scene.
-
Now you are ready to get started in Unity with the Built-in Render Pipeline! For expanded render pipeline support and compatibility with the Shader Graph, repeat the import steps for the Depthkit Core Shader Graph package. To explore compatibility with the Visual Effect graph along with expanded render pipeline support, repeat these steps for the Depthkit Core VFX package.

Creating a Depthkit Clip in your Scene
You can create a Depthkit clip in two ways: by using the Depthkit Core prefab provided in the package or by creating a clip via a game object.
Depthkit Prefabs
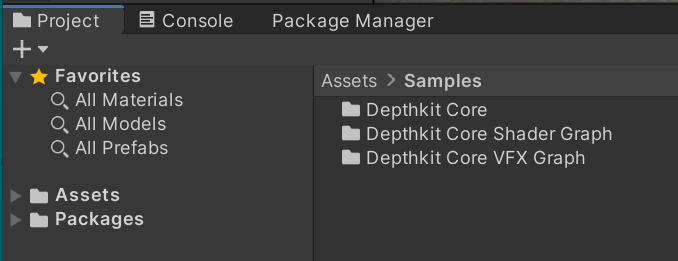
Each Depthkit Core package comes with pre-configured Depthkit clip to get you up and running immediately. Prefabs can be imported via the Package Manager. Once imported, the prefabs become available in your assets folder, in Samples.
For each package, prefabs are available as a Depthkit Clip + Look and for the Look alone. To get started in your scene, simply drag Depthkit Clip + Core Built-in RP Look (or other desired Look) into the Hierarchy.

When experimenting with the Visual Effect Graph, get started with the Depthkit Clip + Core VFX Look prefab. To customize your Depthkit clip with the Shader Graph, begin with the provided Depthkit Clip + Core Shader Graph Look.
Creating a Depthkit Clip from a Game Object
If you don’t want to start with a prefab, you can create a fresh Depthkit clip and assign your desired Look via the Component menu.
-
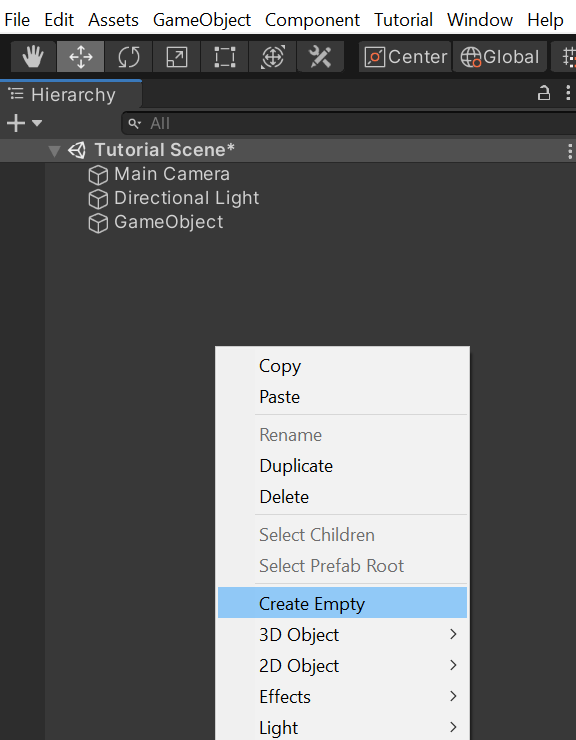
In the Hierarchy, right click and create an empty game object.
-
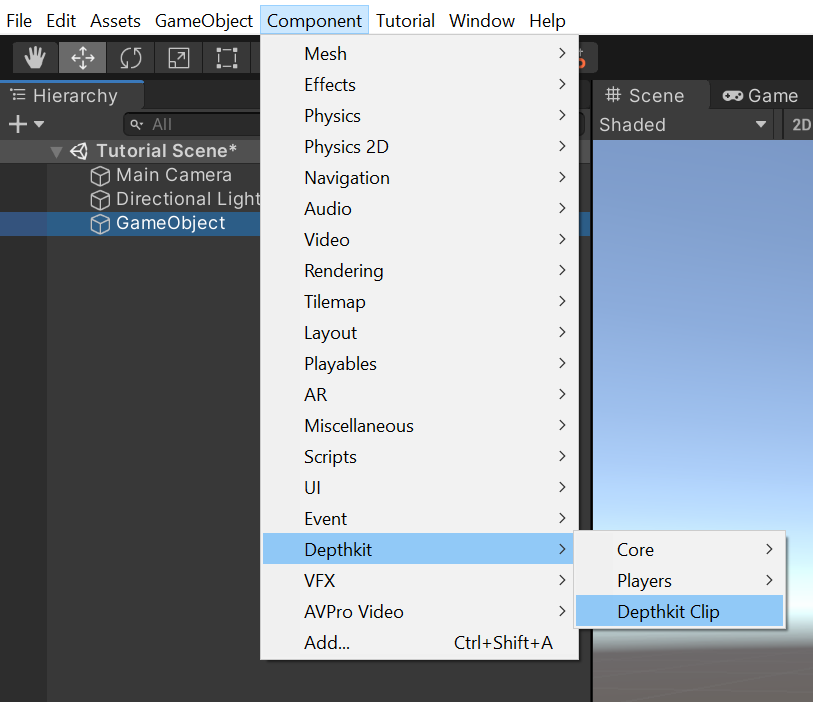
With the game object selected, go to the Component menu, select Depthkit → Depthkit Clip.
-
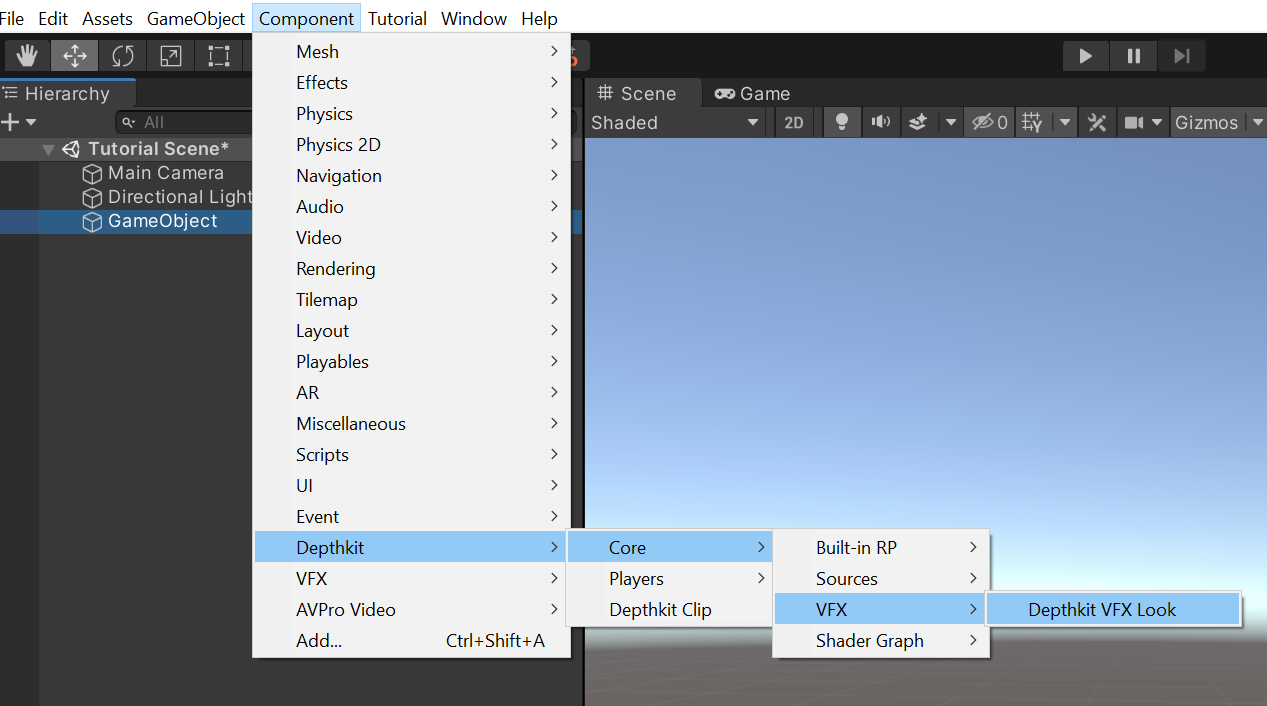
Now you can add your desired Look to the clip. Looks are provided for the Built-in Render Pipeline, the VFX Graph, and the Shader Graph. You can assign the Look that works for your creative needs. For example, if I wanted to create a custom aesthetic for my Depthkit clip via the VFX Graph, I would add the Depthkit VFX Look by returning to the Component menu and selecting, Depthkit → Core →VFX → Depthkit VFX Look. This will add the components needed to start working with the VFX Graph immediately.