[RESOLVED] Improving calibration / sensor placement with 5 sensors

Hey Depthkit-Team!

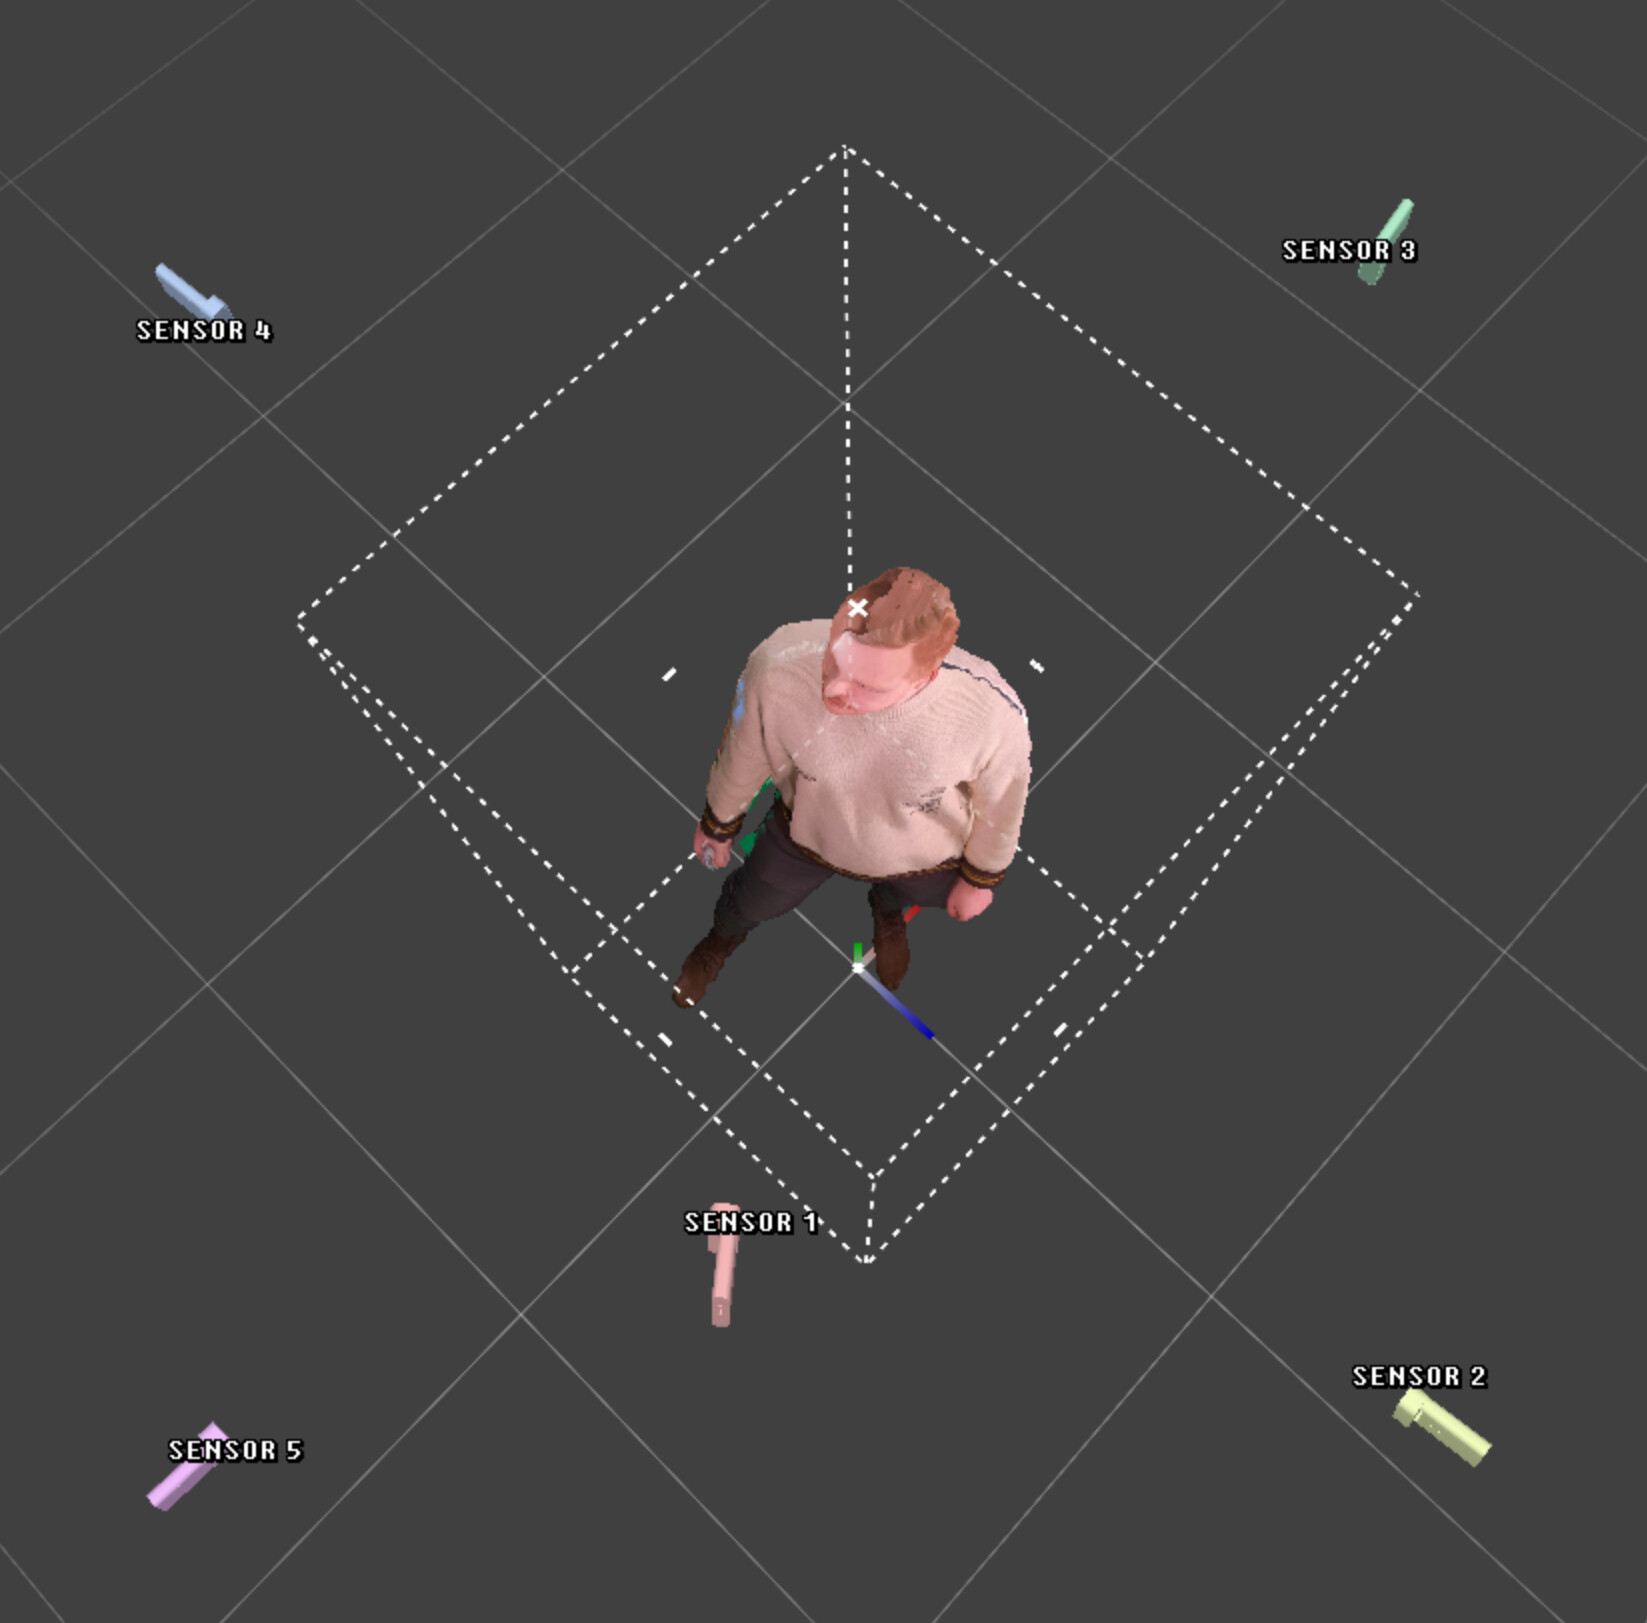
I’m currently trying to improve my capture quality, consisting out of 5 sensors, arranged in the configuration suggested in the Depthkit Studio Tutorials.
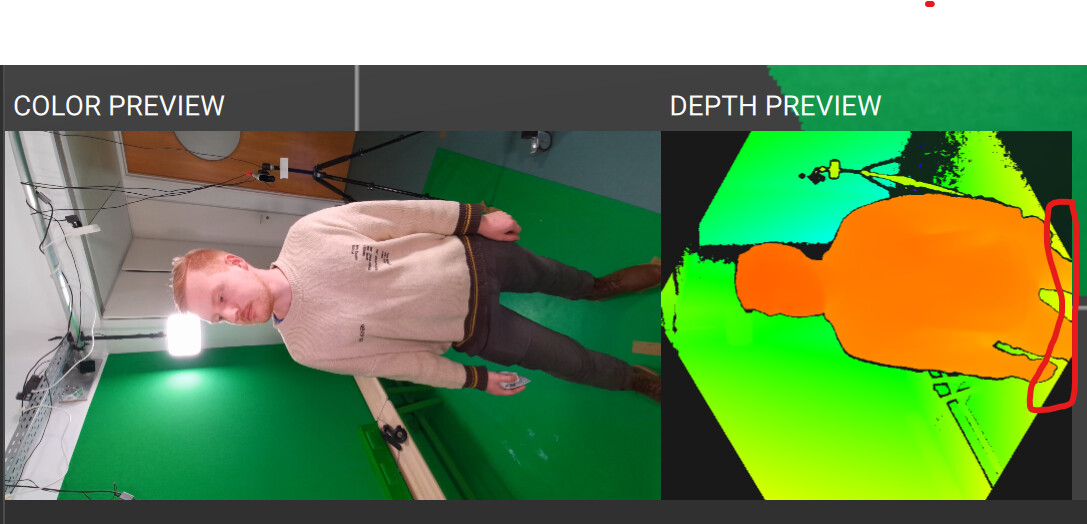
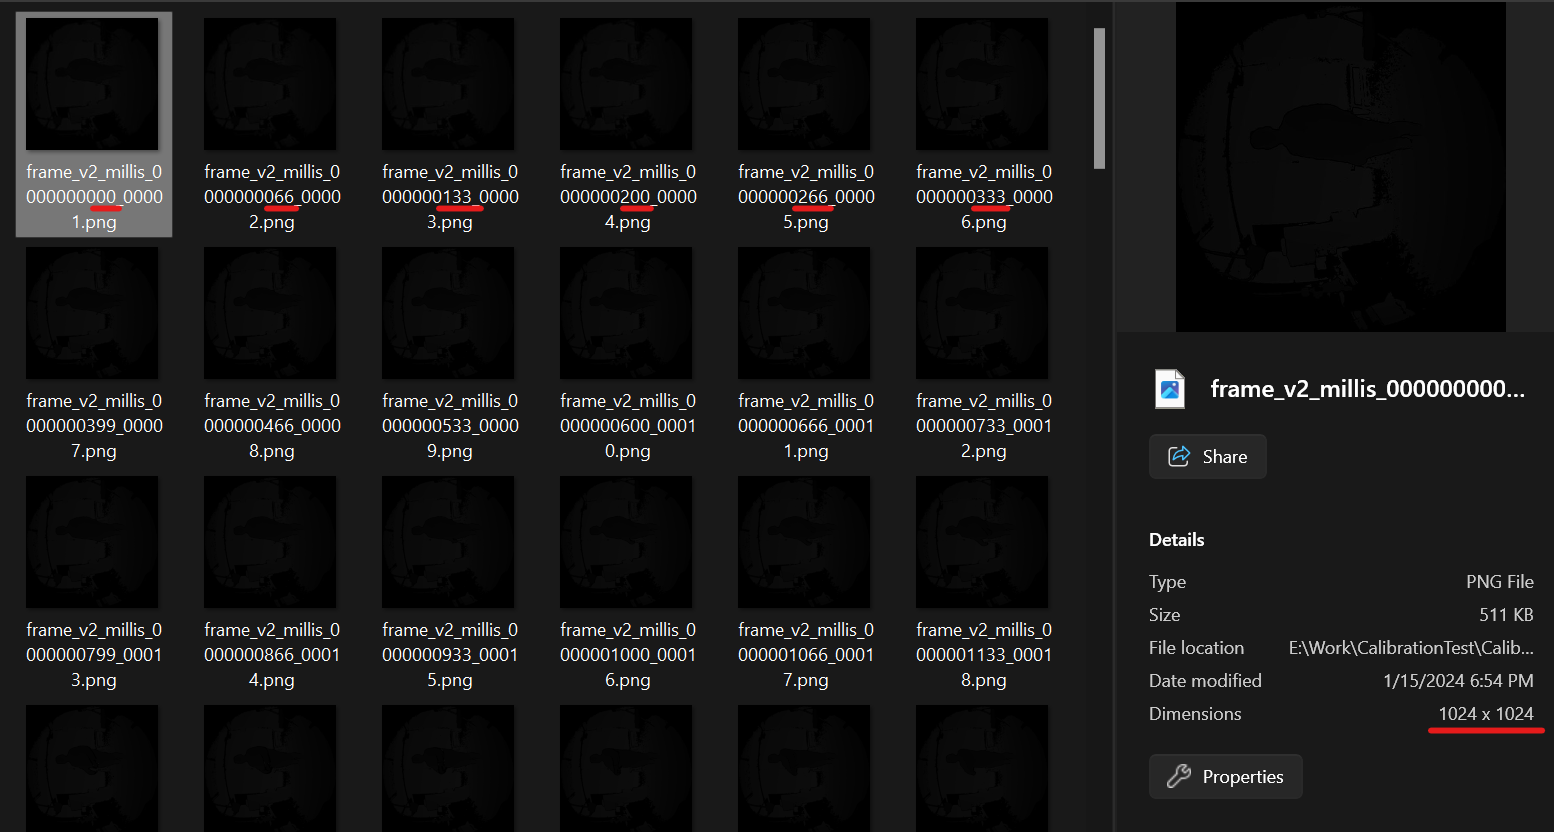
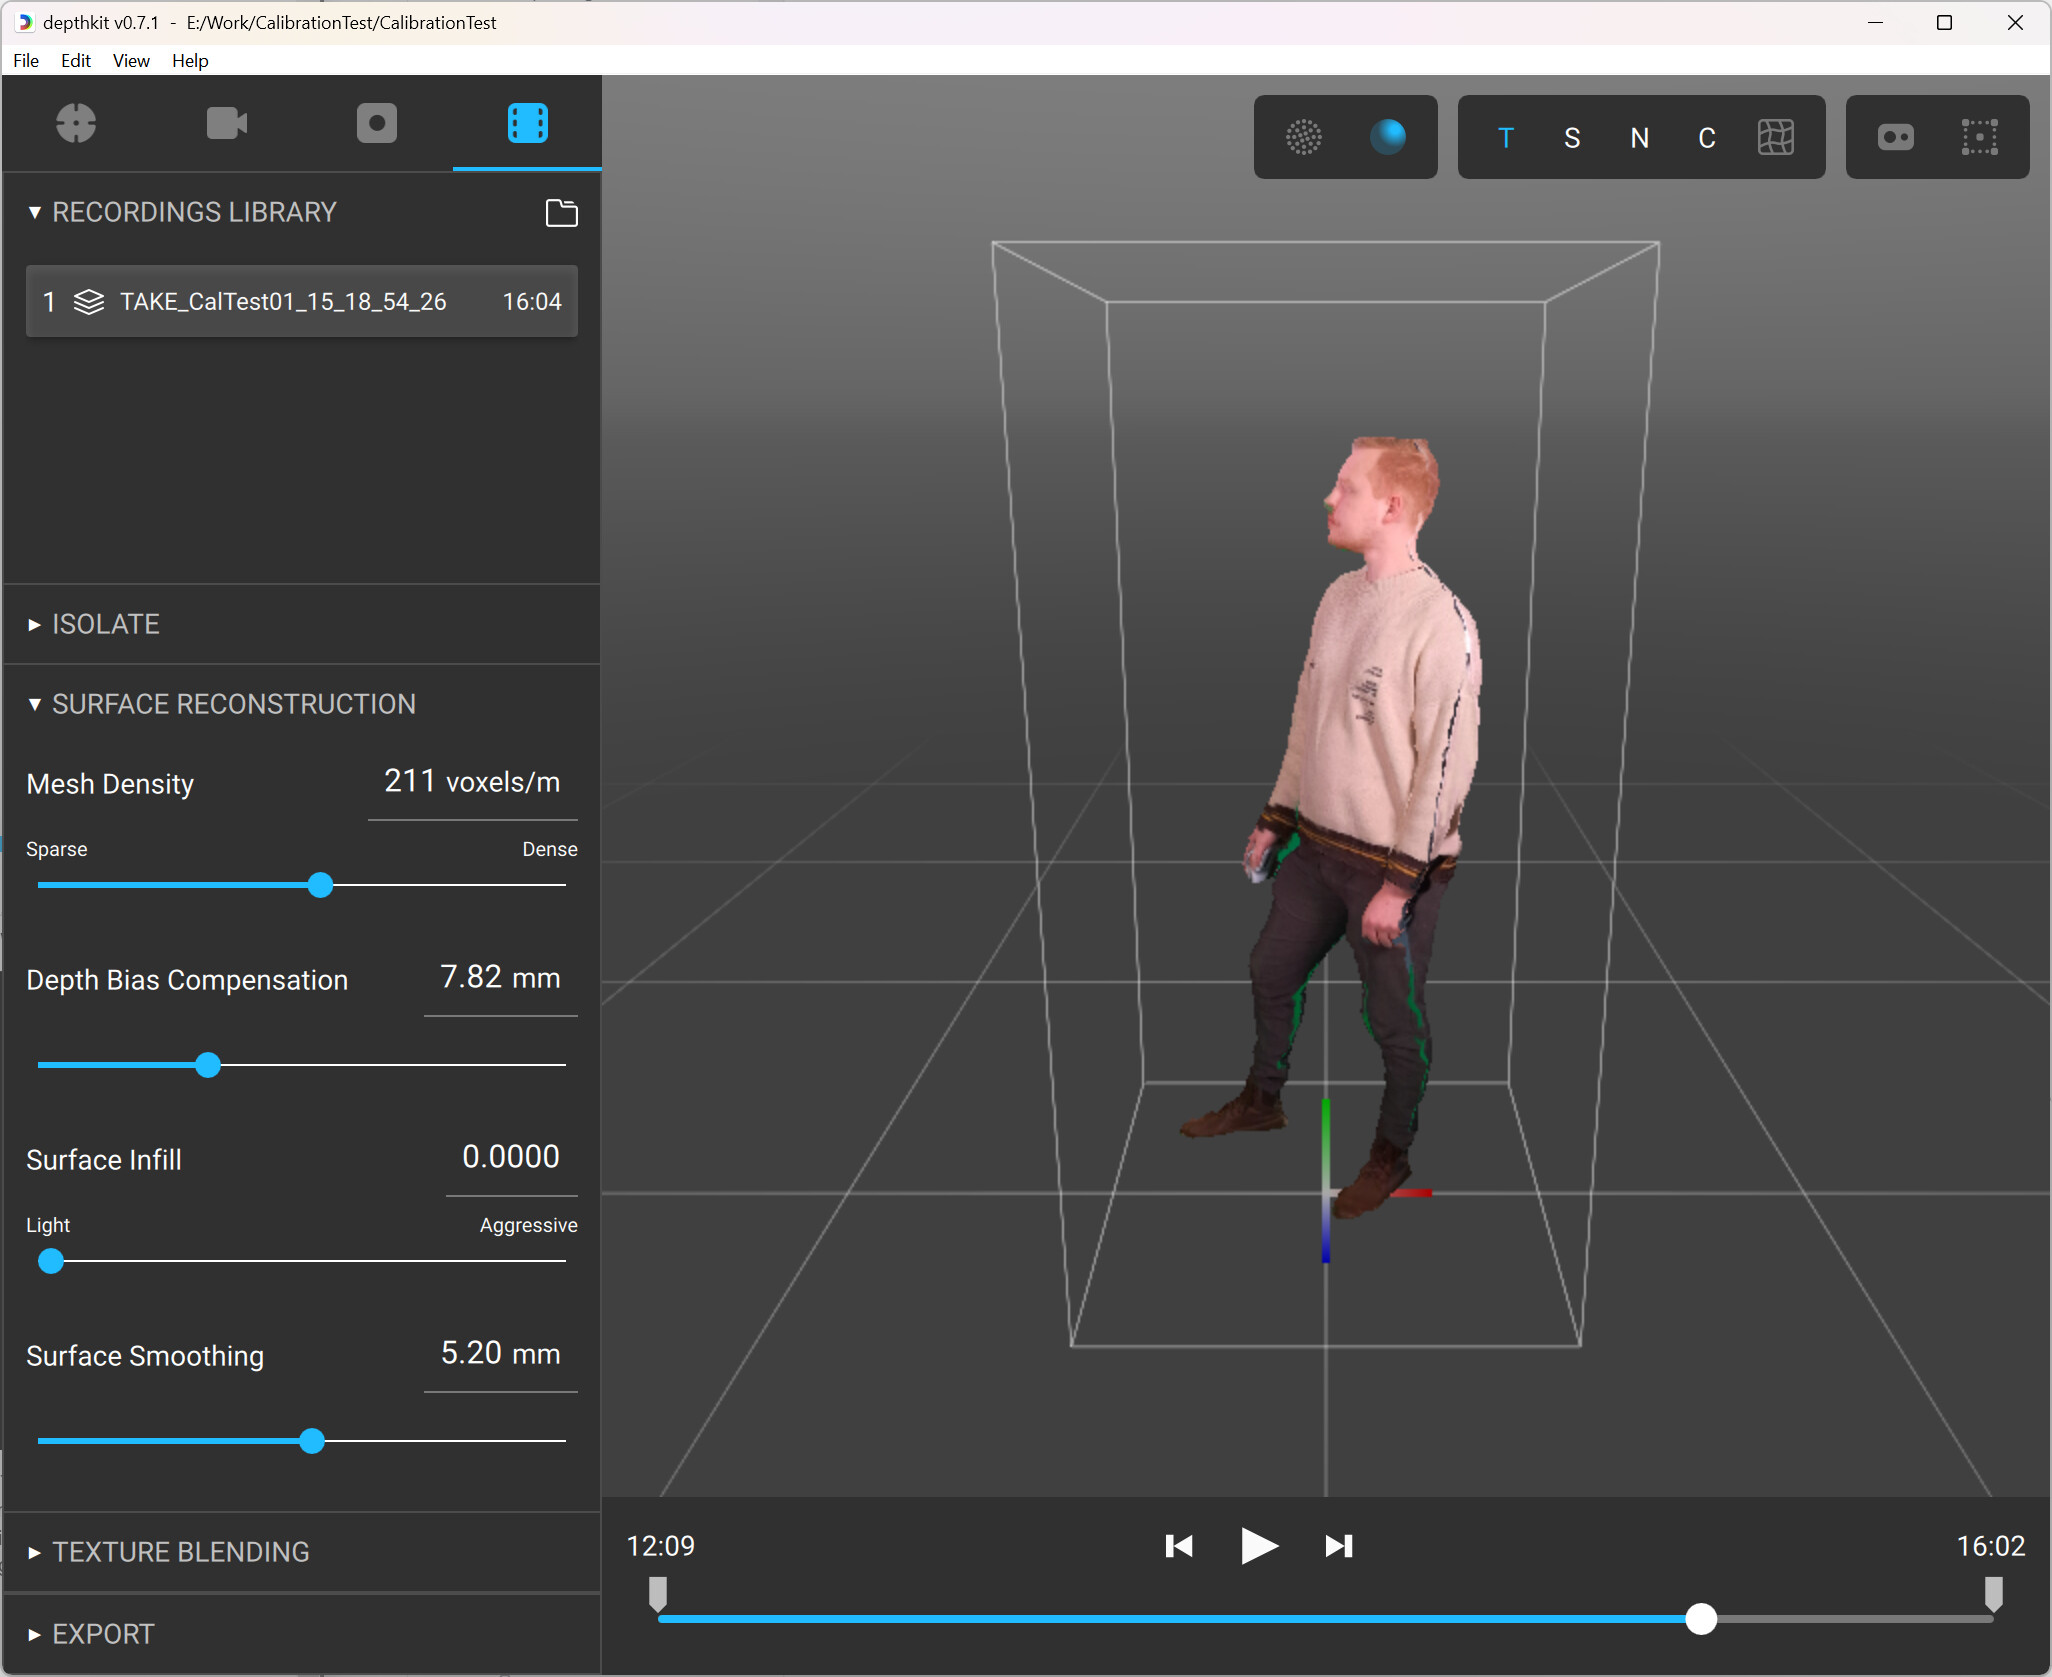
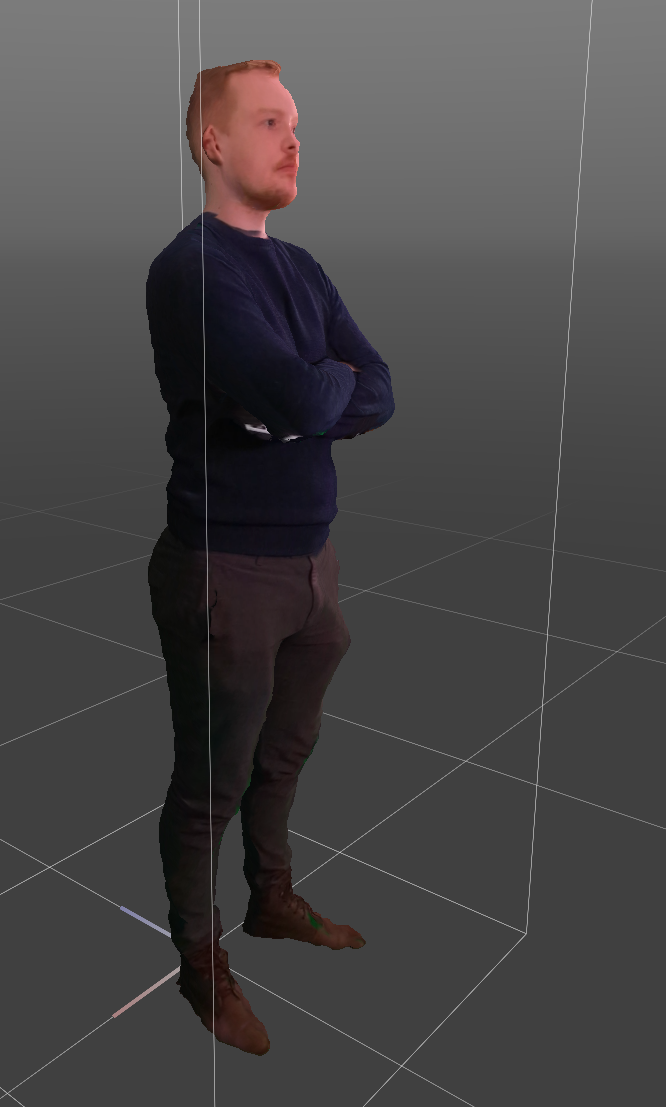
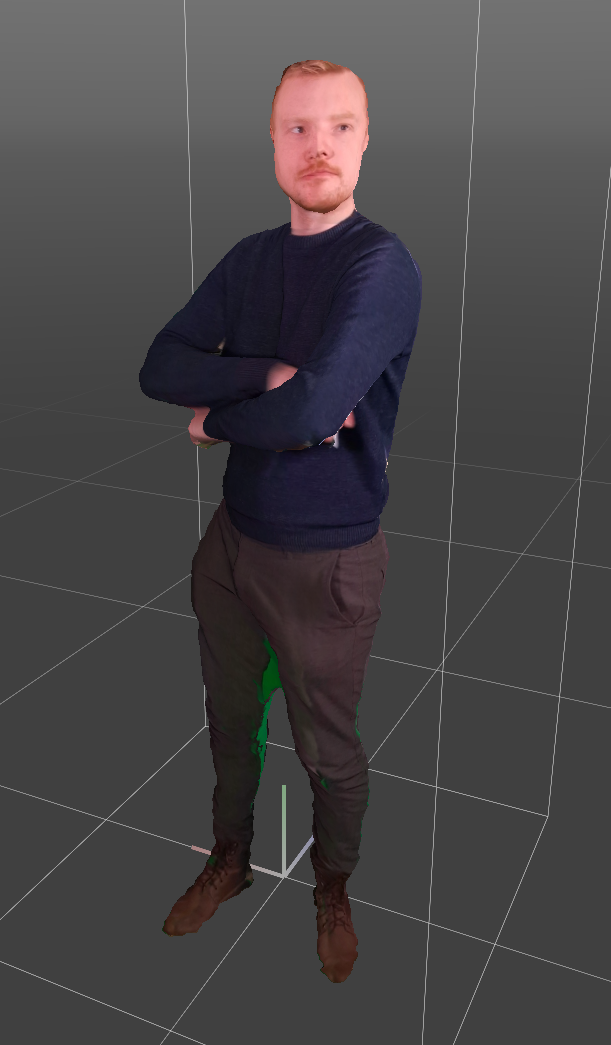
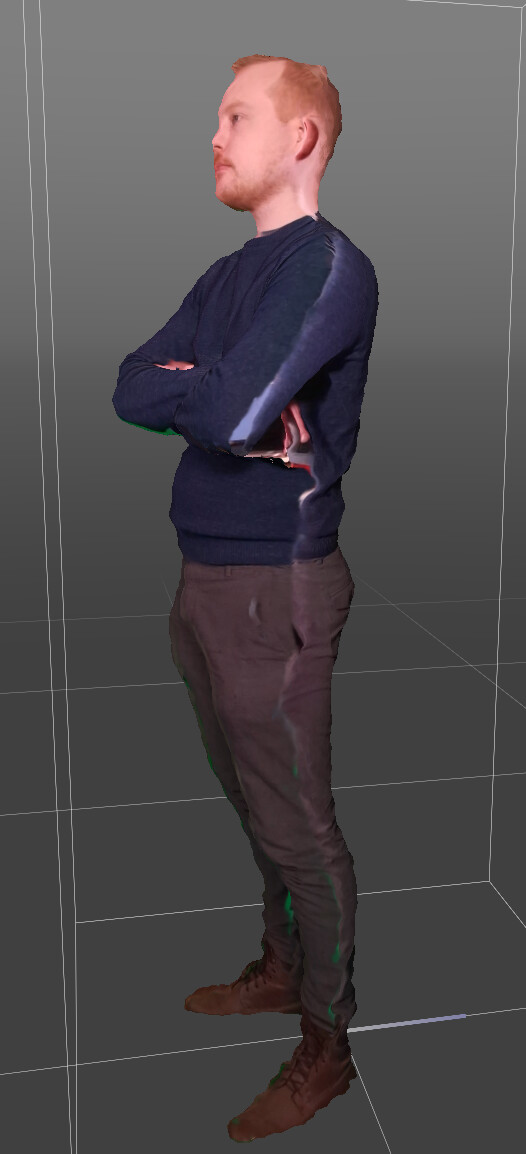
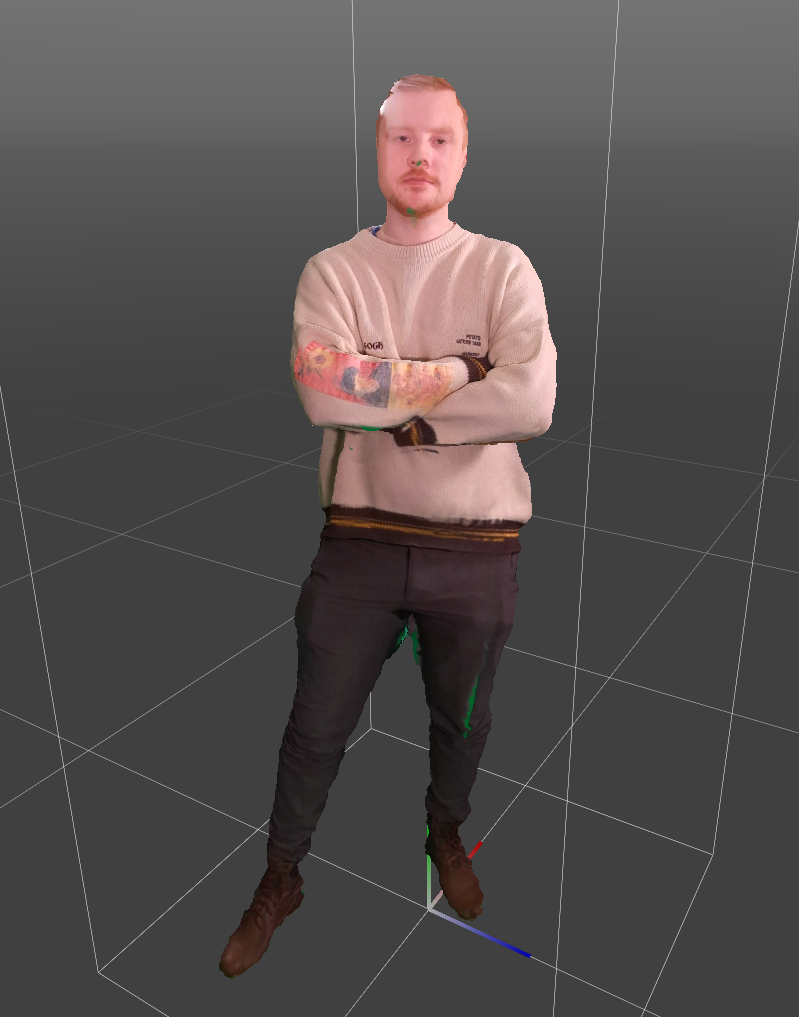
I attached a screenshot (can’t post more atm, as I’m a new forum user) of the current quality that I can achieve, aswell as the full project files. I’m looking forward to any feedback on how I could improve the calibration, sensor placement or capture quality :slight_smile:

Project files: WeTransfer - Send Large Files & Share Photos Online - Up to 2GB Free

Thank you a lot and best regards:

Christopher

Hi, @ChristopherRemde - Thanks for sharing your project. In general your test calibration and capture looks quite good for a 5-sensor configuration. The only adjustments I might make are:

  • The bounding box is oriented 45-degrees off of the axis of your hero sensor, and instead corresponds to the axes of your other sensors. When capturing a floor sample, I typically align the arrow on the calibration chart with the direction that the hero sensor is pointing so that the subject is facing the correct direction when loading them in a 3D environment, but if you’re able to properly isolate your subject and apply that rotation correction in the 3D environment, then this is somewhat arbitrary.

  • Your hero sensor frames your subject in such a way that cuts off their feet. This can be ok if it doesn’t produce any harsh edges in the texturing across the front of the legs, and the hero sensor’s proximity to the subject here is good for capturing detail in the face, but if you are seeing artifacts in the legs, you may want to move the hero sensor further away to fit the full figure.

  • Some of your sensors are set to 1024x1024 Wide RAW for capture. This limits their capture framerate to 15fps. You can achieve 30fps framerates by setting them to 512x512 Wide Binned, which has the same field of view (but lower resolution), or repositioning the sensors a bit further away and setting them to 640x576 Narrow RAW (recommended) to get capture approximately the same sized volume.

  • I also slightly lowered the Surface Infill and raised the Surface Smoothing settings to mitigate the webbing artifacts seen around the legs.

Let us know if you do another test with any of these changes above, and what your results look like. Thanks!

Hey Cory,

thanks a lot for your help! And wow, what an oversight from me with the Wide RAW mode, that should have been of course Narrow Raw, I’ll double-check this setting in the future.
This alone, and combined with the other tips already gave me a nice bump in quality!


The alignment is not 100% here, as one sensor might have been bumped a bit, but I’ll recalibrate and get the calibration as good as I can before doing the real captures.
The only thing I’m still noticing is a larger seam on one side, that doesn’t seem to appear on the other sides. Is this just down to optimising the sensor placement, or could there be any other causes?

Thanks a lot!

@ChristopherRemde Thanks for sharing the updated results - They are looking better indeed.

The remaining misalignment you are seeing may be a result of one of the sensors having moved between calibration and capture, but also may be the result of a known issue affecting some Azure Kinects. The best way to determine is to look at your test captures in Shaded (Untextured) view to see if the geometry from different sensors precisely aligns. If it doesn’t, there is likely an issue with that project’s calibration (e.g. bumped sensor), but if it looks perfectly aligned, it is likely that at least one of your sensors contains that factory color-depth misalignment issue. For the later, we have a workaround which allows you to hand adjust the texture projection of individual sensors to help them better align.

Hey Cory! Yes I think you nailed it, the sensor which is placed there does seems to be the most affected by the texture alignment issue. Great to hear that you implemented a workaround that even works post-capture, as I’ve already done some takes. Will try this out and come back here with the results!

@ChristopherRemde If you can confirm which sensor(s) have the most error, you can also reduce the impact of this issue by shuffling your sensors so that the sensors with the least error are the only ones which see high-priority areas like the subject’s face, and the sensors with the most error are facing the subject’s back where texture alignment is less critical.

1 Like