For those interested in evaluating Depthkit’s livestreaming functionality inside a Unity project, it is possible to emulate Depthkit livestreams using the prerecorded Depthkit samples and free software.
⚠️ Caution: Pre-recorded Depthkit assets undergo some degree of automatic “cleanup” when edited and exported out of Depthkit; Livestream data from Depthkit does not undergo the same processes, so this emulation does not represent the final quality of Depthkit Livestreams.
To get started:
- Download a Depthkit Studio or Core sample asset in Combined Per Pixel Video format from the Downloads page of the Depthkit website. (Depthkit account required)
- Download and install OBS.
- Download and install the OBS Spout Plugin.
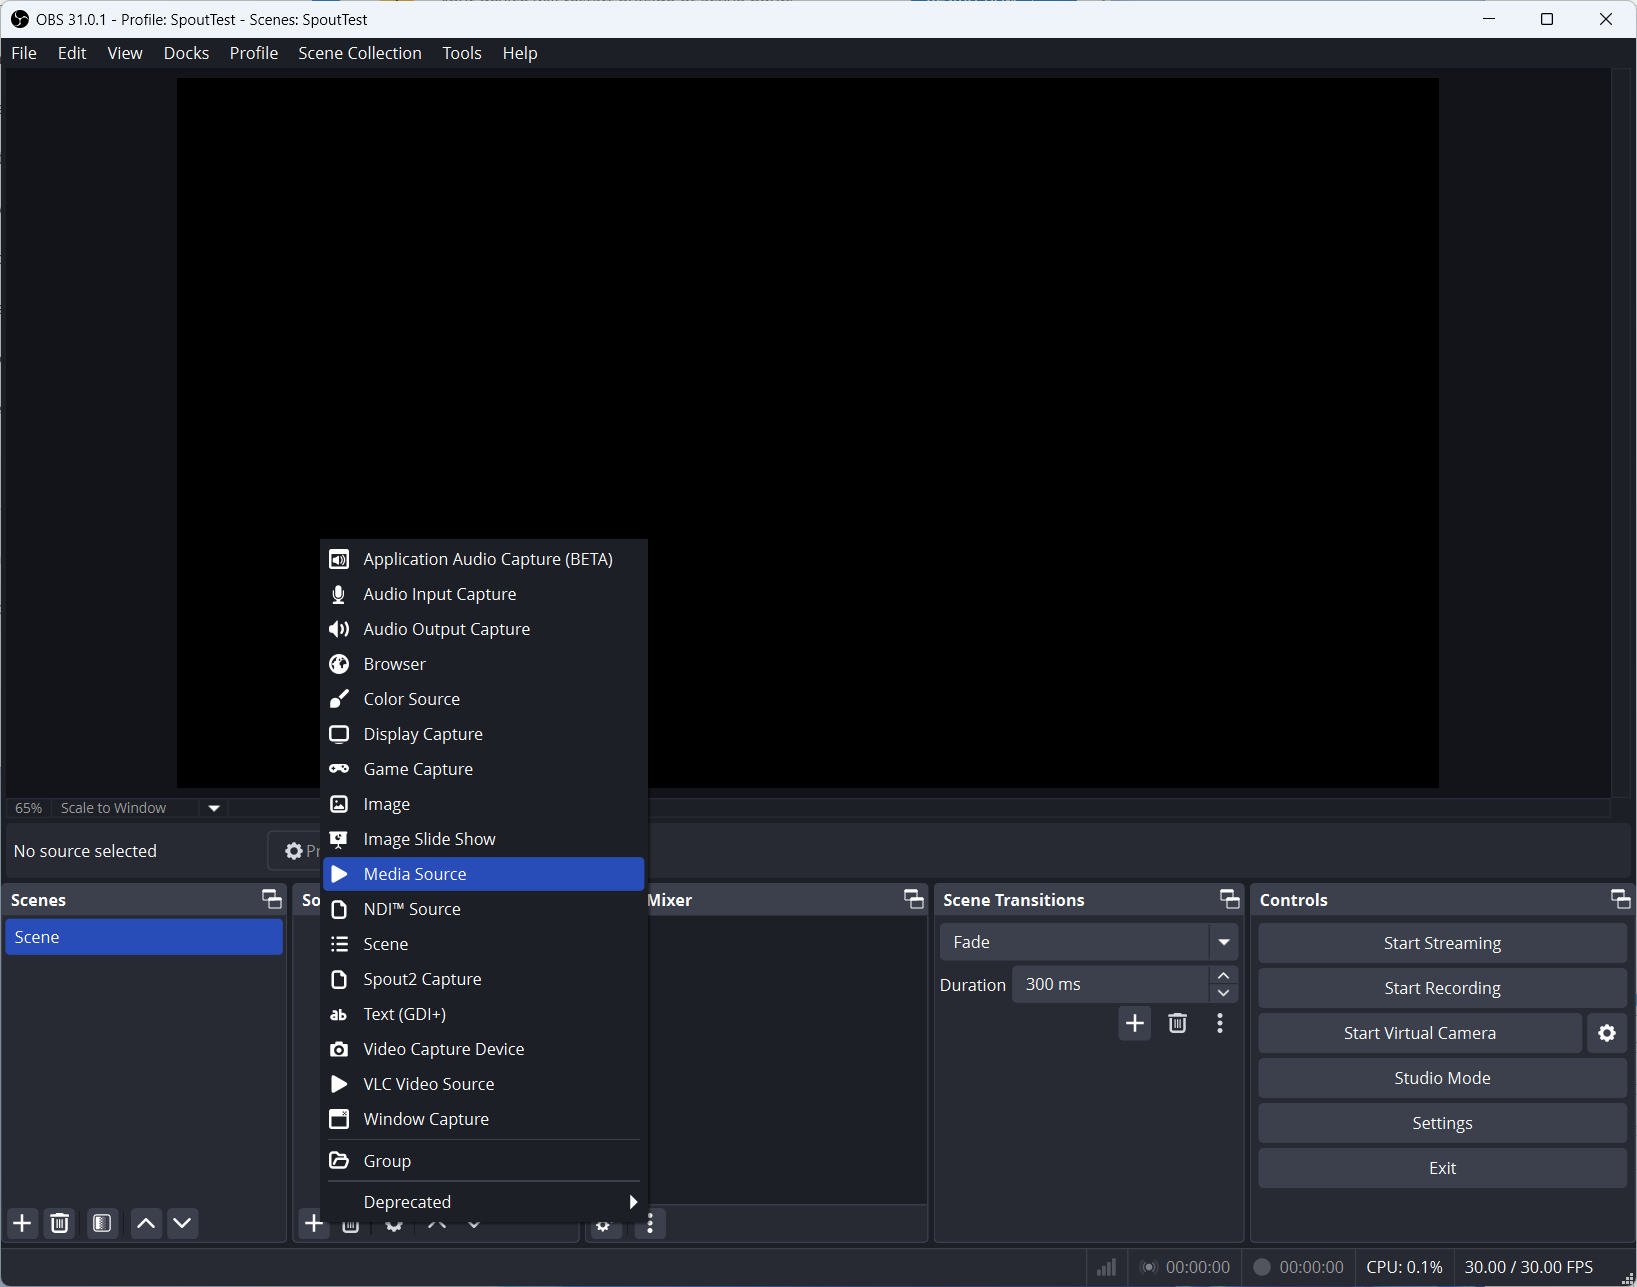
- In your OBS scene, create a new
Media Source. - Under local file, select the video of the Depthkit Combined Per Pixel you downloaded.
- Check the
Loopbox. - Click OK to complete setting up the source object.
- Optionally press Ctrl/Cmd + F to fit the entire video in the OBS canvas so you can see the whole thing, but this step is not required.
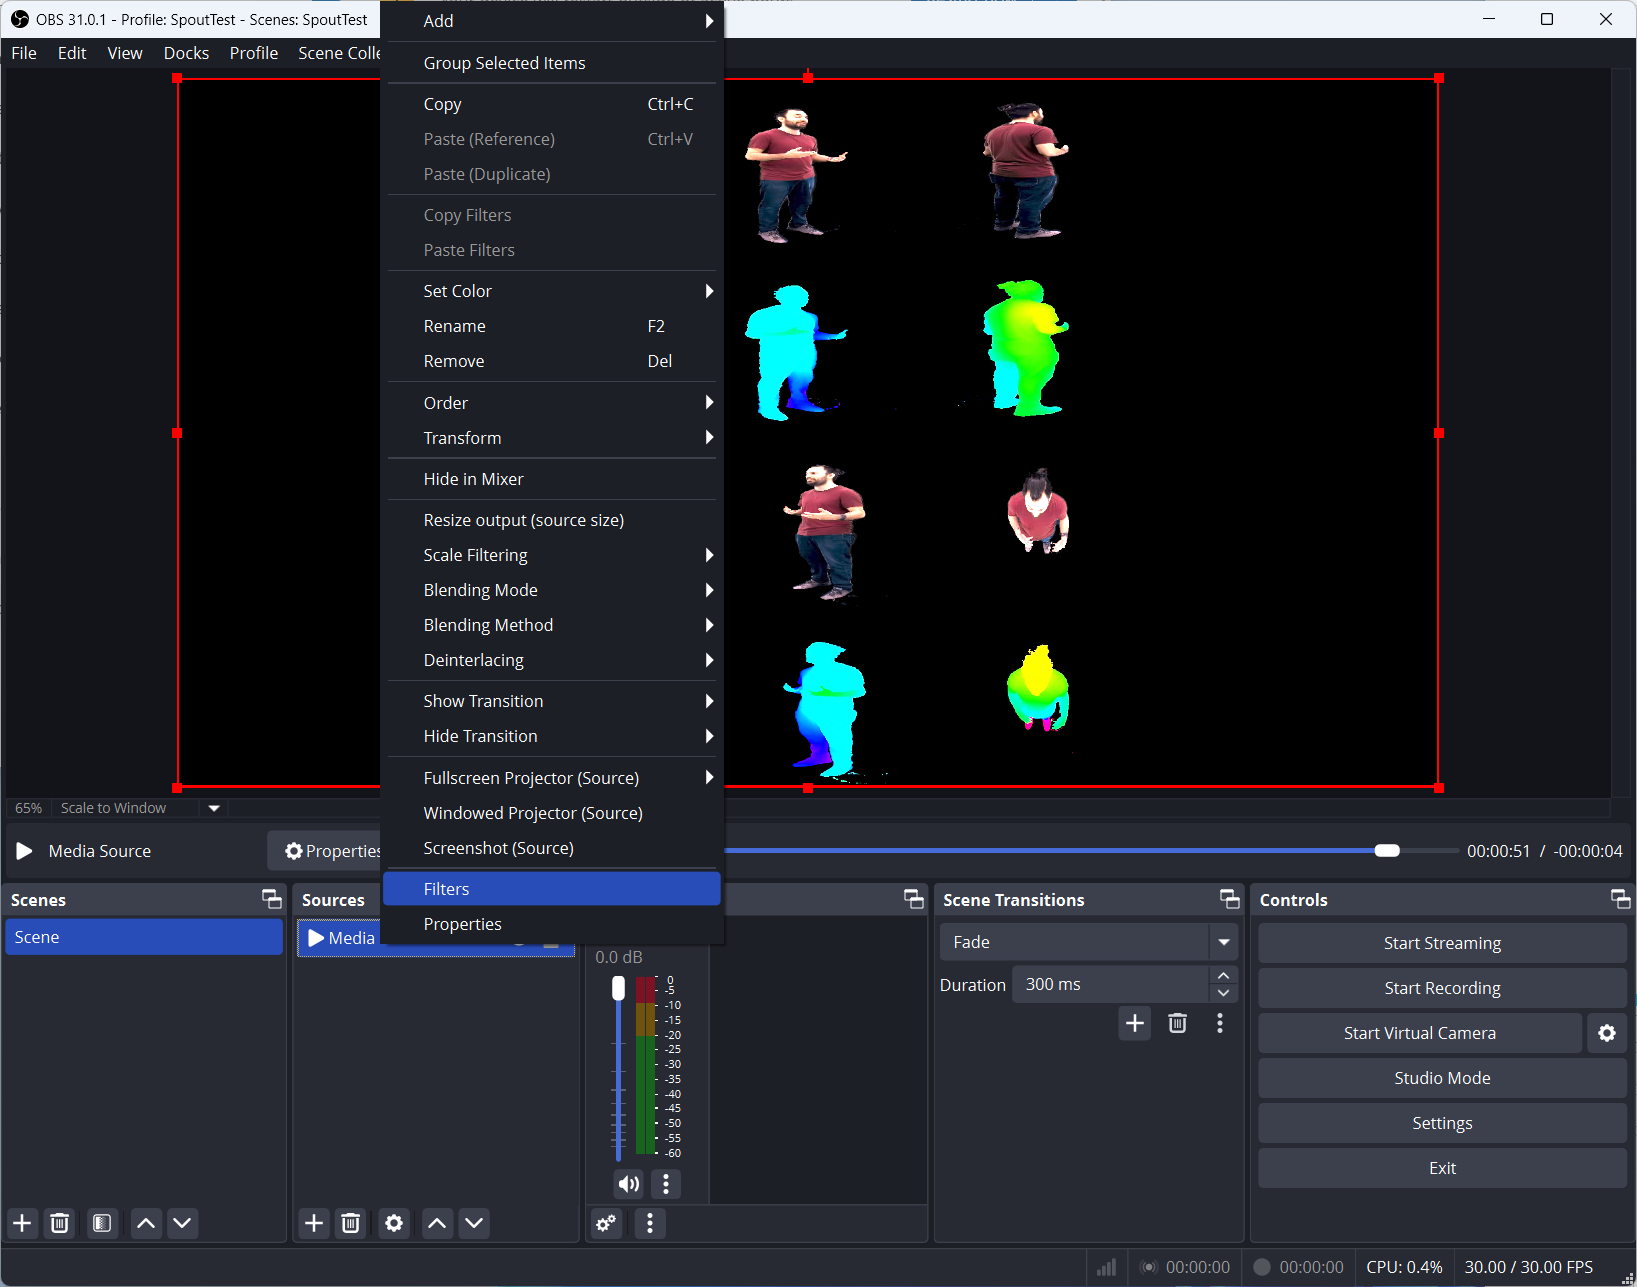
- Right click the
Media Sourceand selectFilters.
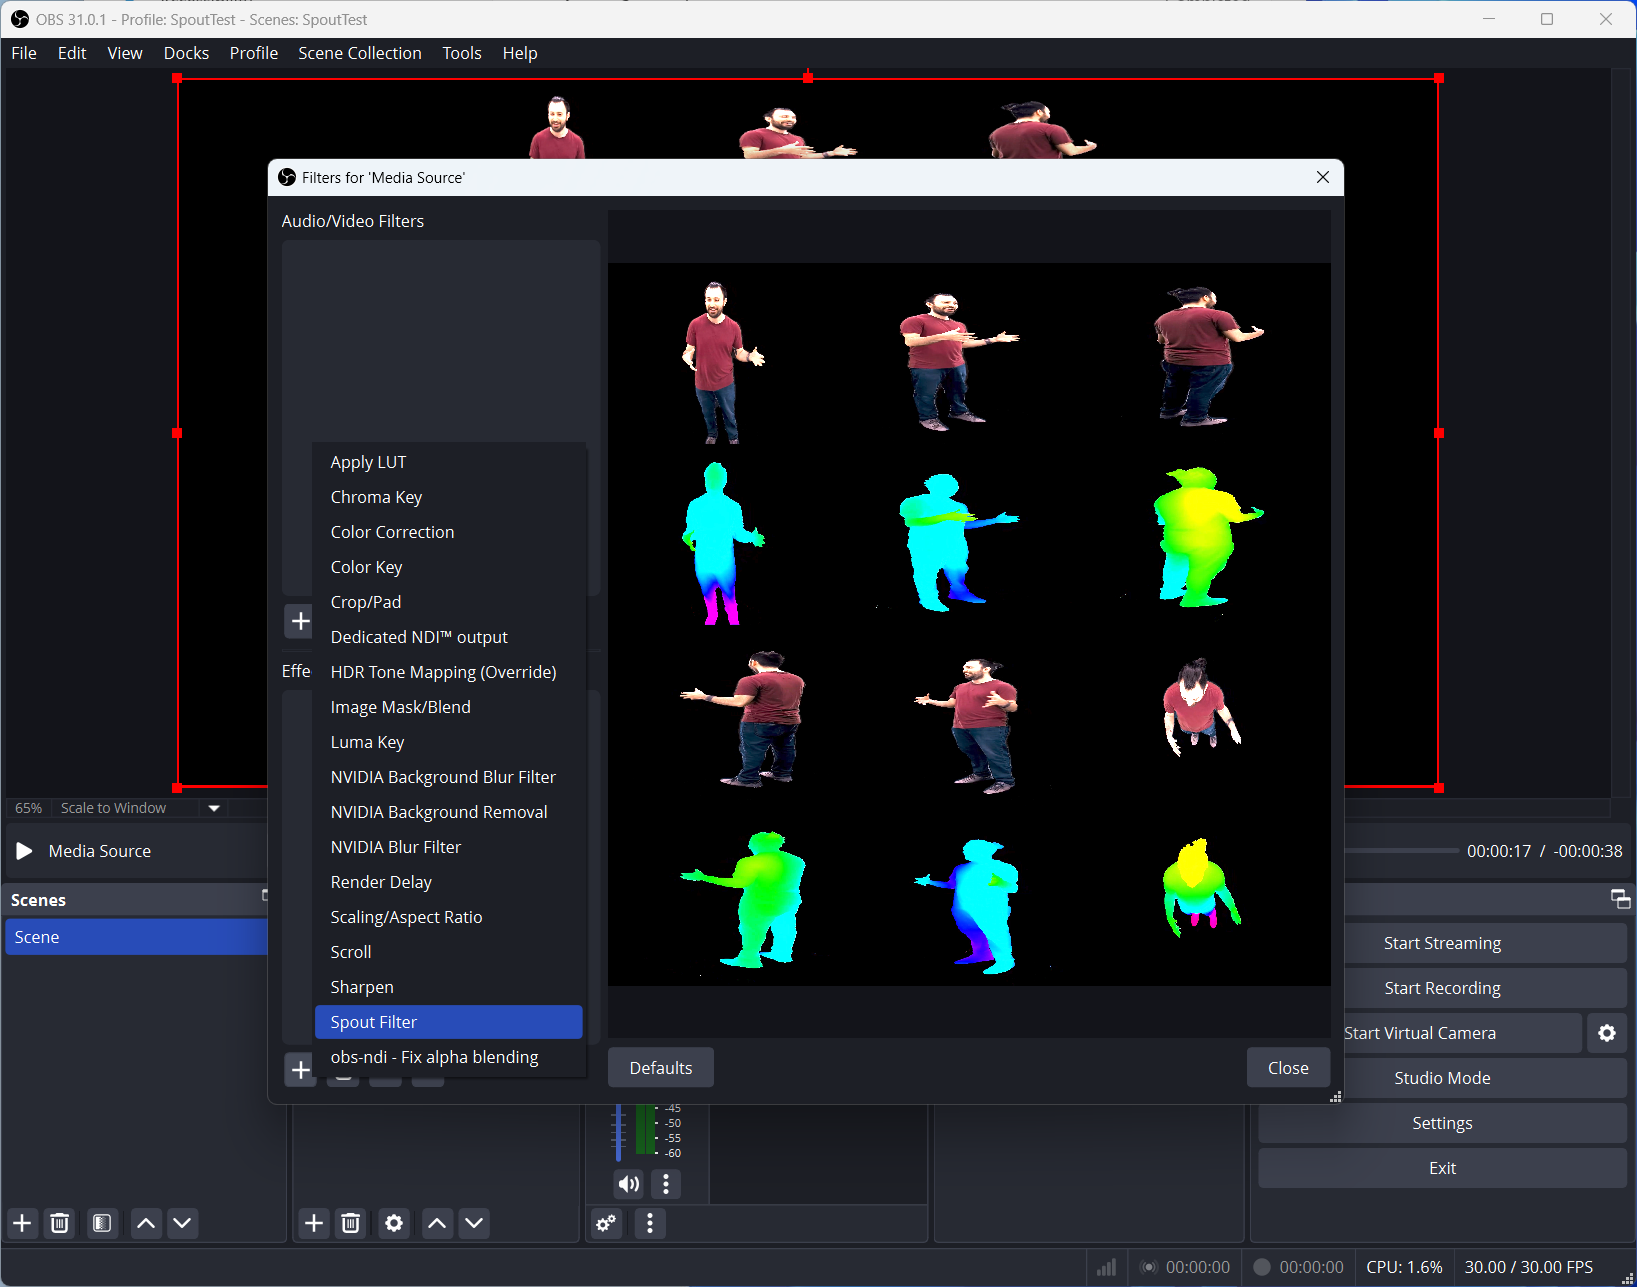
- Click the
+underEffect Filtersand addSpout Filter.

- Optionally change the name of the Spout stream, and that’s all that’s needed to generate a Spout stream similar to that generated by the Depthkit application.
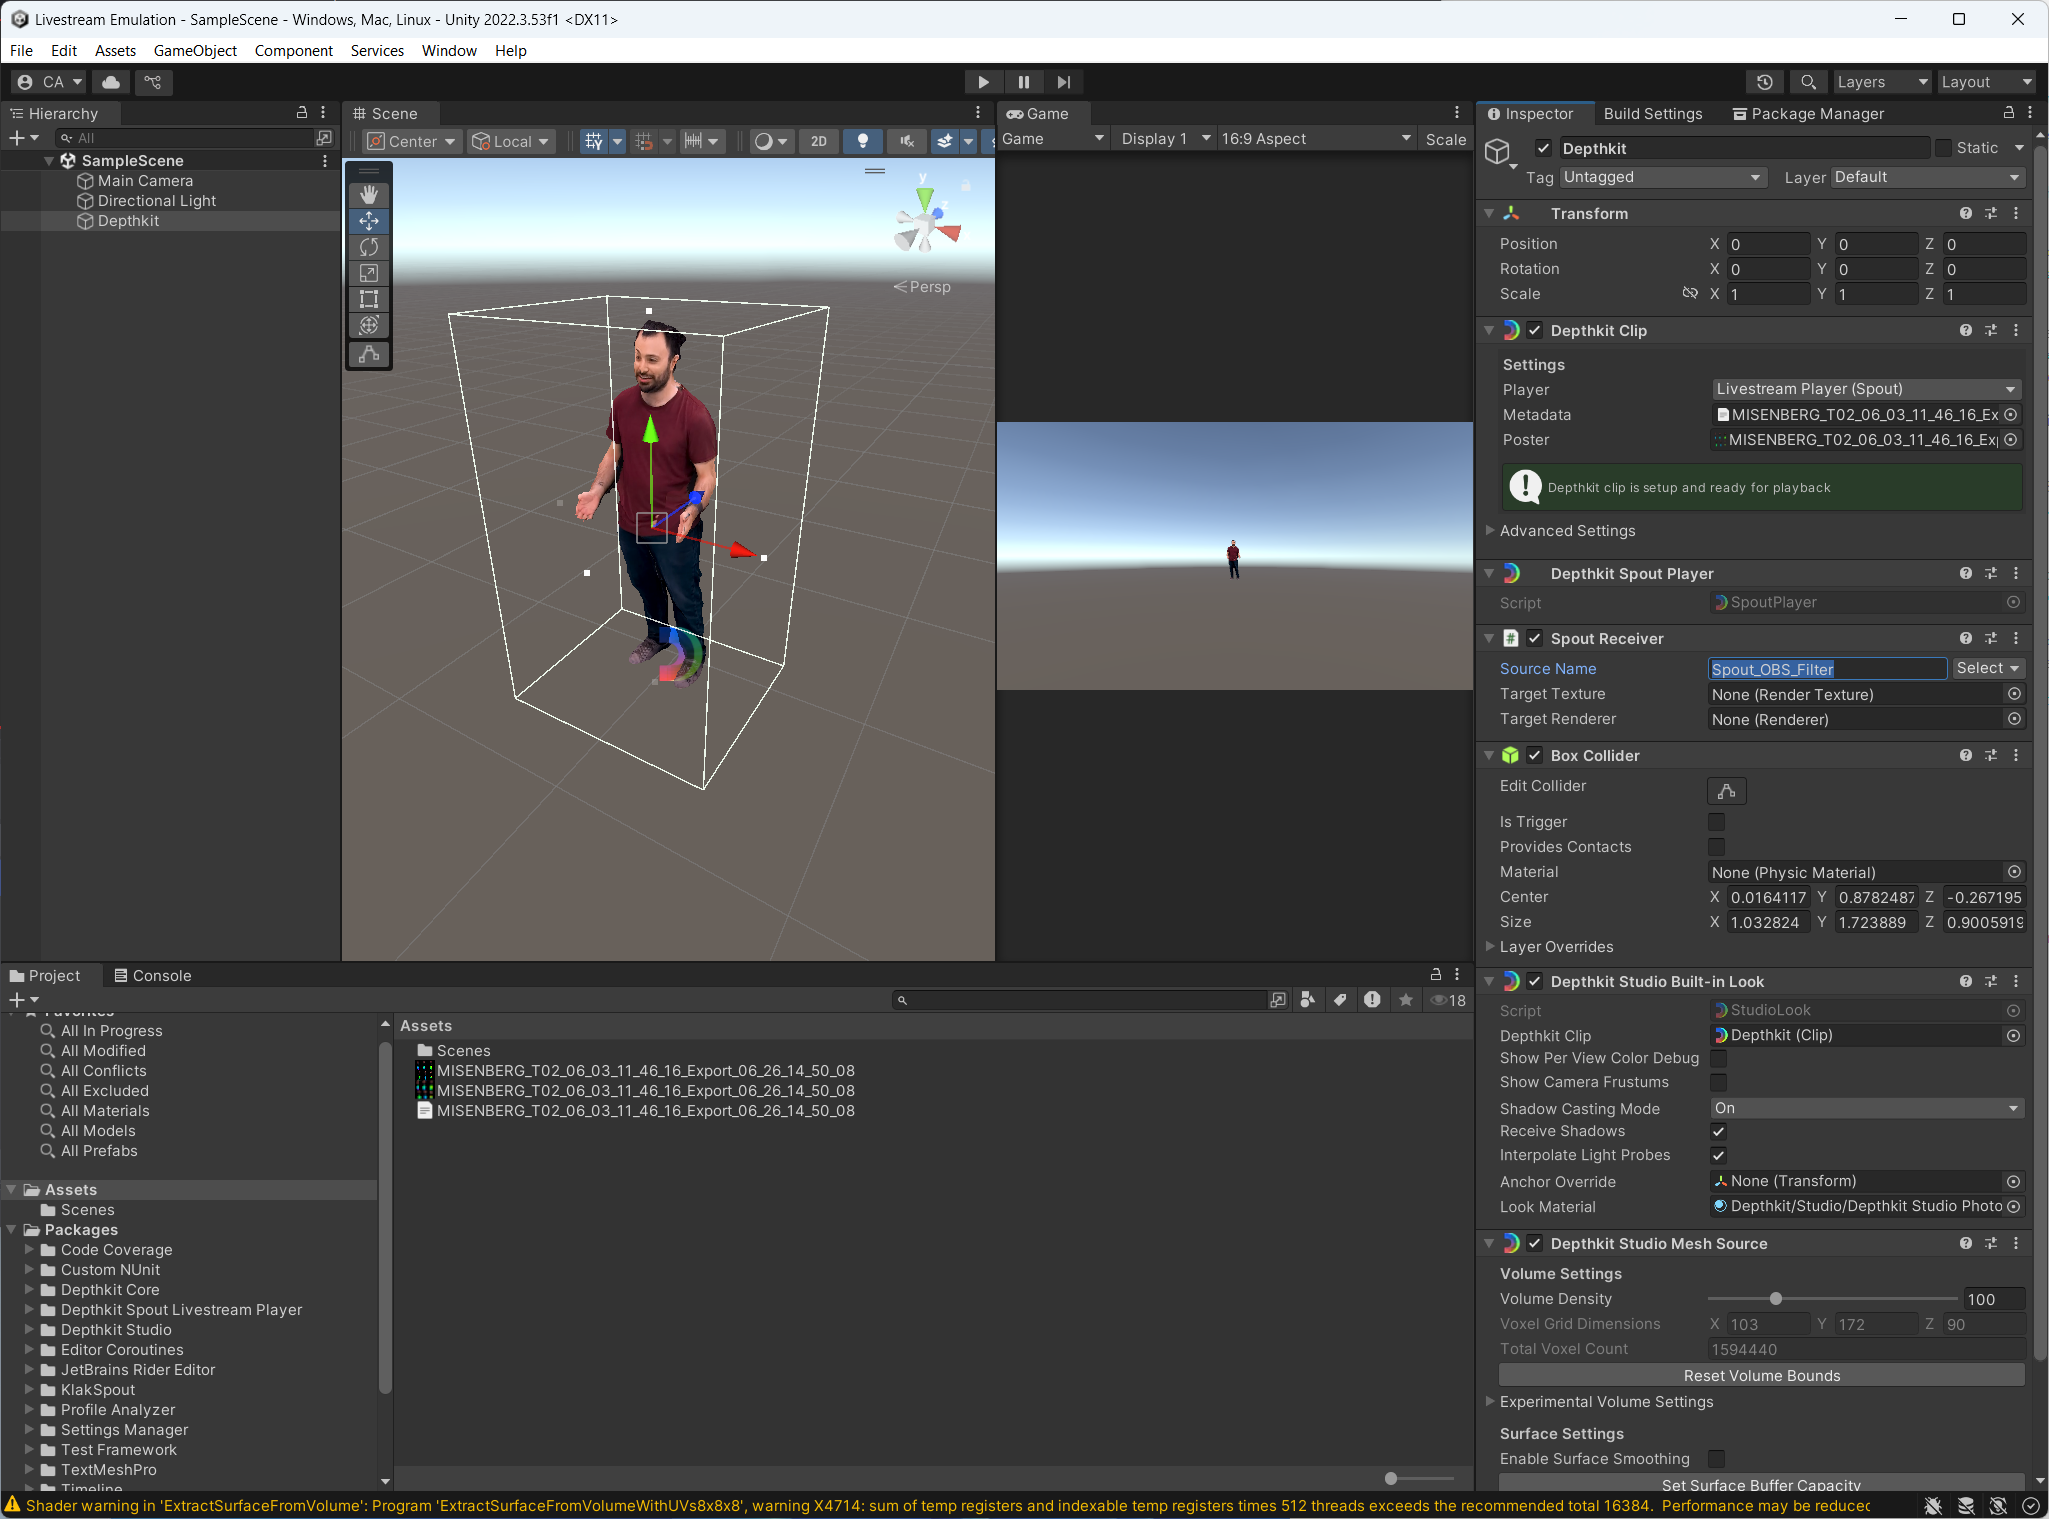
Follow the instructions for setting up Unity in the Depthkit Local Livestreaming documentation to receive and render the stream on the same computer, or the other livestreaming workflows to test the stream over LAN, WebRTC, or a CDN.